
Lawn owners who want a perfect spring garden should not sleep on the importance of soil fertility. You can perform soil testing in early spring after the frost has melted and the soil is pliable to determine your lawn’s pH and nutrient levels.
What to Know About Soil Testing
What Is Soil Testing and Why Is It Important in Early Spring Lawn Care?
A soil test is a chemical analysis that evaluates various characteristics of the soil, including its pH level, toxicity, and chemical content. You can conduct the test early in the spring to determine whether the soil can supply the plants with enough nutrients during their growth.
Soil testing provides a quick overview of the nutrients in your soil and can help you decide whether or not to add fertilizer, compost, or manure, as well as how much to apply. This information aids early spring lawn care by removing most of the guesswork in making fertilizer-related decisions before planting grass and plants.
Generally, soil testing helps in growing lush and healthy lawns. It’s one of the reasons why soil testing is important. Here are some ways the test can aid in achieving the lawn of your dreams:
- Determine what nutrients the soil lacks. Grass won’t thrive if there’s not enough food to eat.
- Recognize the key physical properties of your soil to determine the best ways to take care of your lawn.
- Avoid over-fertilizing, which could kill grass and pollute the environment.
- Reach the ideal pH level to promote healthy root growth and ensure good nutrient availability.
- Check for contaminants.
- Identify and treat issues related to plant culture.
- Enhance the growing plants’ nutritional balance.
- Save money and energy by applying only the necessary amount of fertilizer.
How to Get Your Soil Tested
There are quite a few options to get your soil tested. The most accurate and reliable method is to work with lawn care services near you. These professionals will handle every step of the process, including testing, sampling, and providing lawn improvement recommendations.
Another way is to gather samples and submit them to Ontario soil testing laboratories for expert analysis. The results are typically available within a few weeks. In addition to the report indicating the pH level and the amounts of potassium, calcium, phosphorus, zinc, and other nutrients in your soil, results typically include recommendations for applying lime and fertilizer. You could even send a copy of the report to the relevant authorities if necessary.
The most cost-effective method is to collect and analyze samples using a soil test kit. Typically, these kits come with a way to test for pH as well as phosphorus, potassium, and nitrogen. However, the outcome of these tests will be less precise than professional options.
How to Collect Samples for the Soil Test
Ensure that the samples accurately depict your lawn’s overall properties. Avoid taking samples from an unusual patch in your garden. You can test these separately if you want. Additionally, you should remove any plant debris from the sample’s surface.
With those pointers in mind, you should:
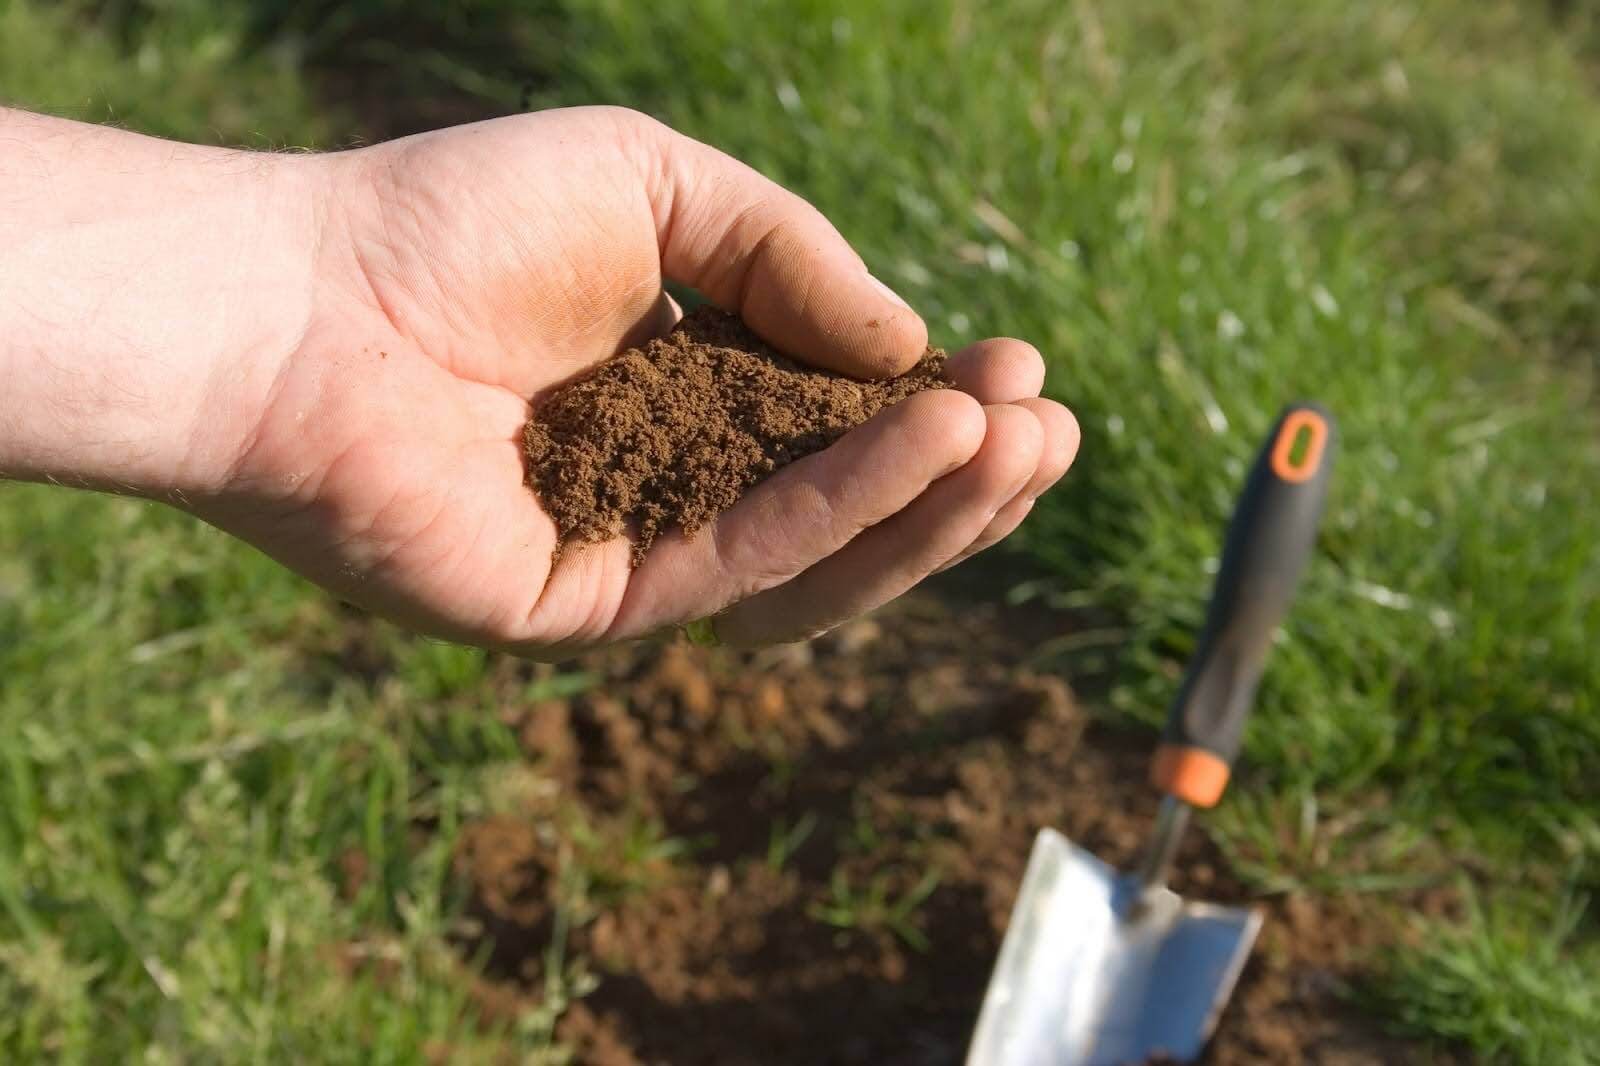
- Use a trowel or shovel to get soil samples about six inches deep and put them in a clean bucket.
- In high tunnels or raised beds, gather soil samples from the beds themselves, not from the spaces in between.
- Repeat the previous steps around 15 times randomly around your garden, ensuring you’re taking samples that best represent your lawn.
- Thoroughly mix the collected soil samples, breaking up large pieces into a more refined form.
- Let your soil dry, if damp, before placing one or two cups of the blended soil in a bag for testing.
Alternatively, if you hire lawn care services to test the soil, they might also handle the sample collection process.
Interpreting Your Test Results and Planning for Treatment
Regular soil testing gives you information about your soil’s texture, pH, organic matter content, and other characteristics. The test results also include soil amendment suggestions, like applying lime and fertilizer.
Here’s a quick rundown of how to understand the results of your soil test and the general corrective treatments.
pH Level
The pH level refers to the soil’s acidity, alkalinity, or neutrality. For turfgrass to grow, the ideal pH range for soil is between 6.0 and 7.5. If the pH of the soil is more than 7.5, sulfur and other minerals may need to be applied. Meanwhile, liming may be necessary if the pH is less than 6.0. Make sure to follow the testing lab’s recommendation before applying any pH treatment to your lawn.
Potassium (K)
Between 40 and 80 ppm (parts per million) of potassium is considered a healthy range for soil. Apply more K than N annually to soils with less than 40 ppm of potassium. If the potassium level is in the desired range (40-80 ppm), apply .75 to 1.0 lb. of K2O for each pound of nitrogen you apply. To raise the potassium levels in the soil, you can apply muriate of potash (0-0-60).
Nitrogen (N)
Nitrogen is the primary constituent of proteins, amino acids, and chlorophyll; it can also be linked to lush, healthy vegetation. The type of soil determines the nitrogen content. For example, for optimal grass growth, sandy soil needs 25-50 mg-N/kg, loam soil needs 50-75 mg-N/kg, and clay soil needs 75-125 mg-N/kg. Turfgrass fertilizers have a higher nitrogen percentage than other fertilizers, so they can help with nitrogen deficiency.
Phosphorus (P)
The soil test result shows how much phosphorus is available to the plants in the soil. Phosphorus should be lightly maintained yearly at between 25 and 50 ppm. You can add between 1/8 to 1/4 lb. of P2O5 per lb. of nitrogen. Use a starter fertilizer on soils with less than 25 ppm. Meanwhile, once levels hit roughly 50 ppm, no fertilizer is required.
These are the primary metrics for soil testing in Toronto. You can also test soil for other minerals like sulfur, iron, copper, sodium, calcium, and more, as well as other important information like the soil’s cation exchange capacity (CEC). The laboratory that conducted your soil test will likely recommend the next actions to take.
Best Practices for Caring for Your Lawn After Testing Is Complete
Once you get the soil test results, start addressing the issues or making the suggested amendments. If you need to add fertilizer, ensure your lawn is well-watered a day or two prior, and apply fertilizer after the grass blades dry. Then water it again lightly.
Aeration can significantly increase the penetration of water, air, and nutrients into the soil if testing reveals compaction. Additionally, you should avoid walking on the grass until the roots have a firm hold on your soil.
Call LawnMart for Hassle-Free Soil Testing
Soil testing is an essential diagnostic method to assess the nutritional deficiencies in your lawn and determine how to promote healthy grass growth. While it is possible to test the soil on your own, hiring a lawn care expert like LawnMart to do it for you will yield the best results.
We will handle everything, including sampling and carrying out remedial measures. As an organic lawn care company, our team is experienced in growing lush lawns by making the soil healthy. Contact us to learn how we can help you transform your lawn or to get a free quote today.